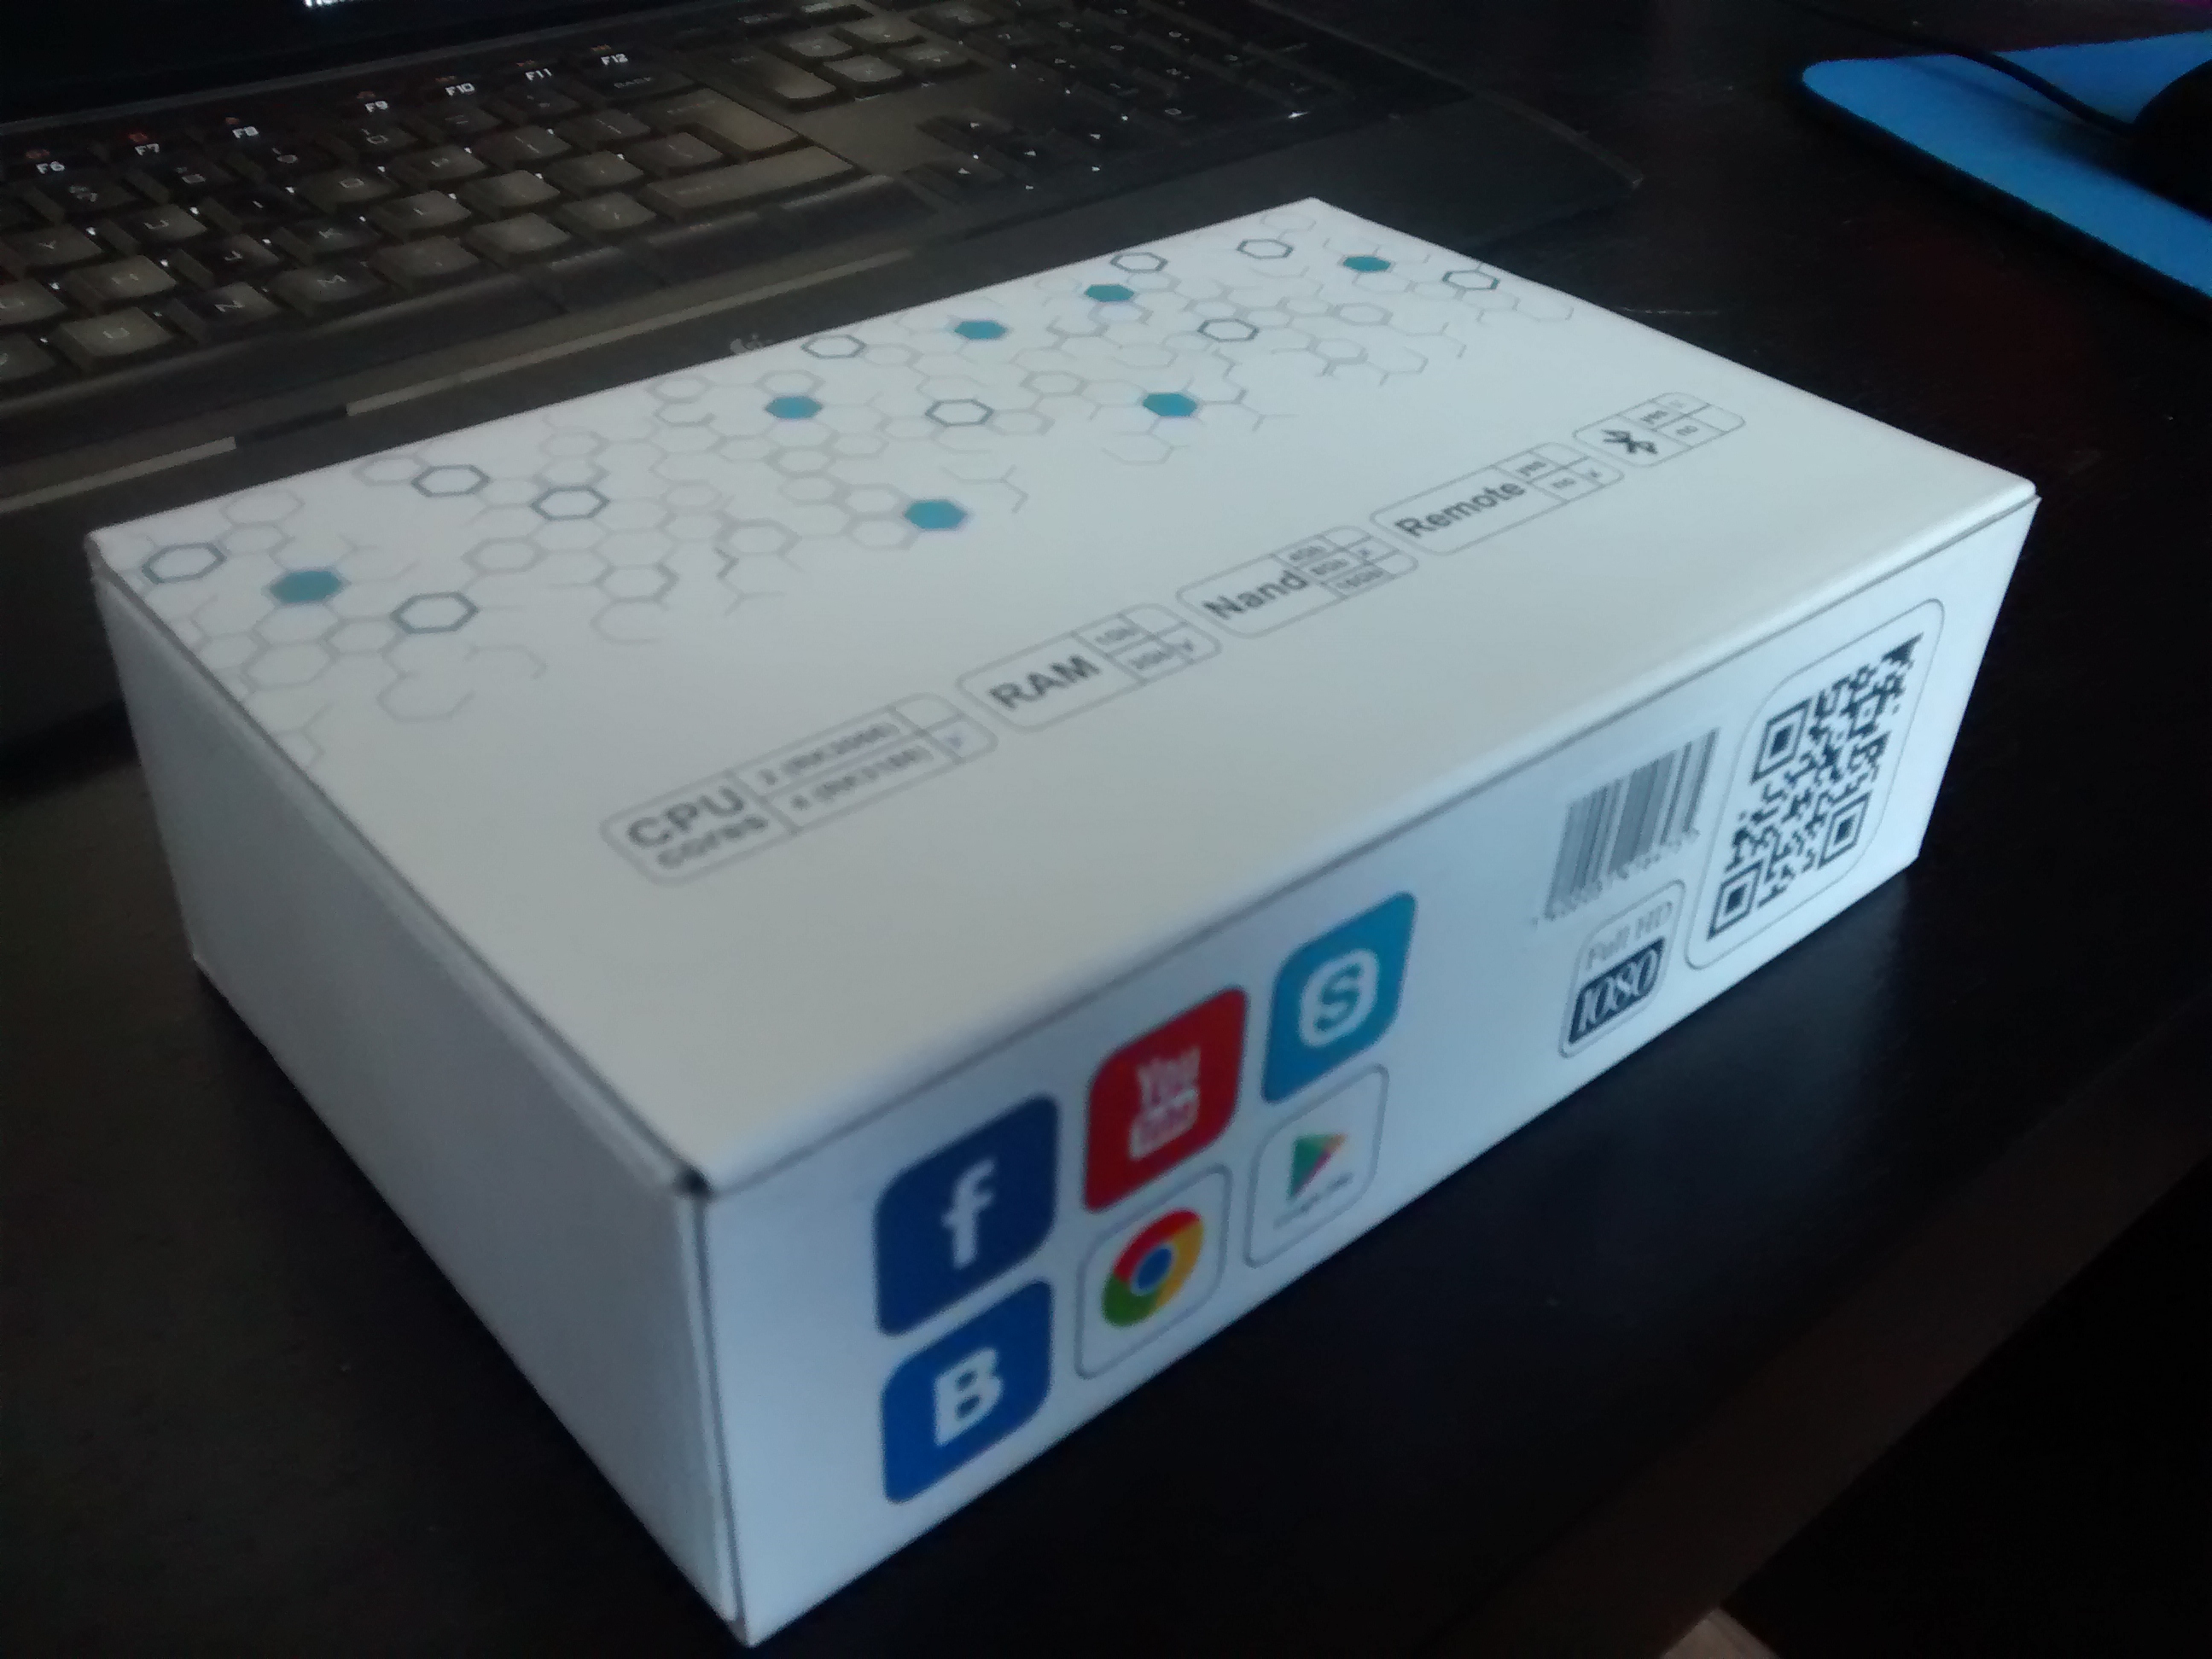
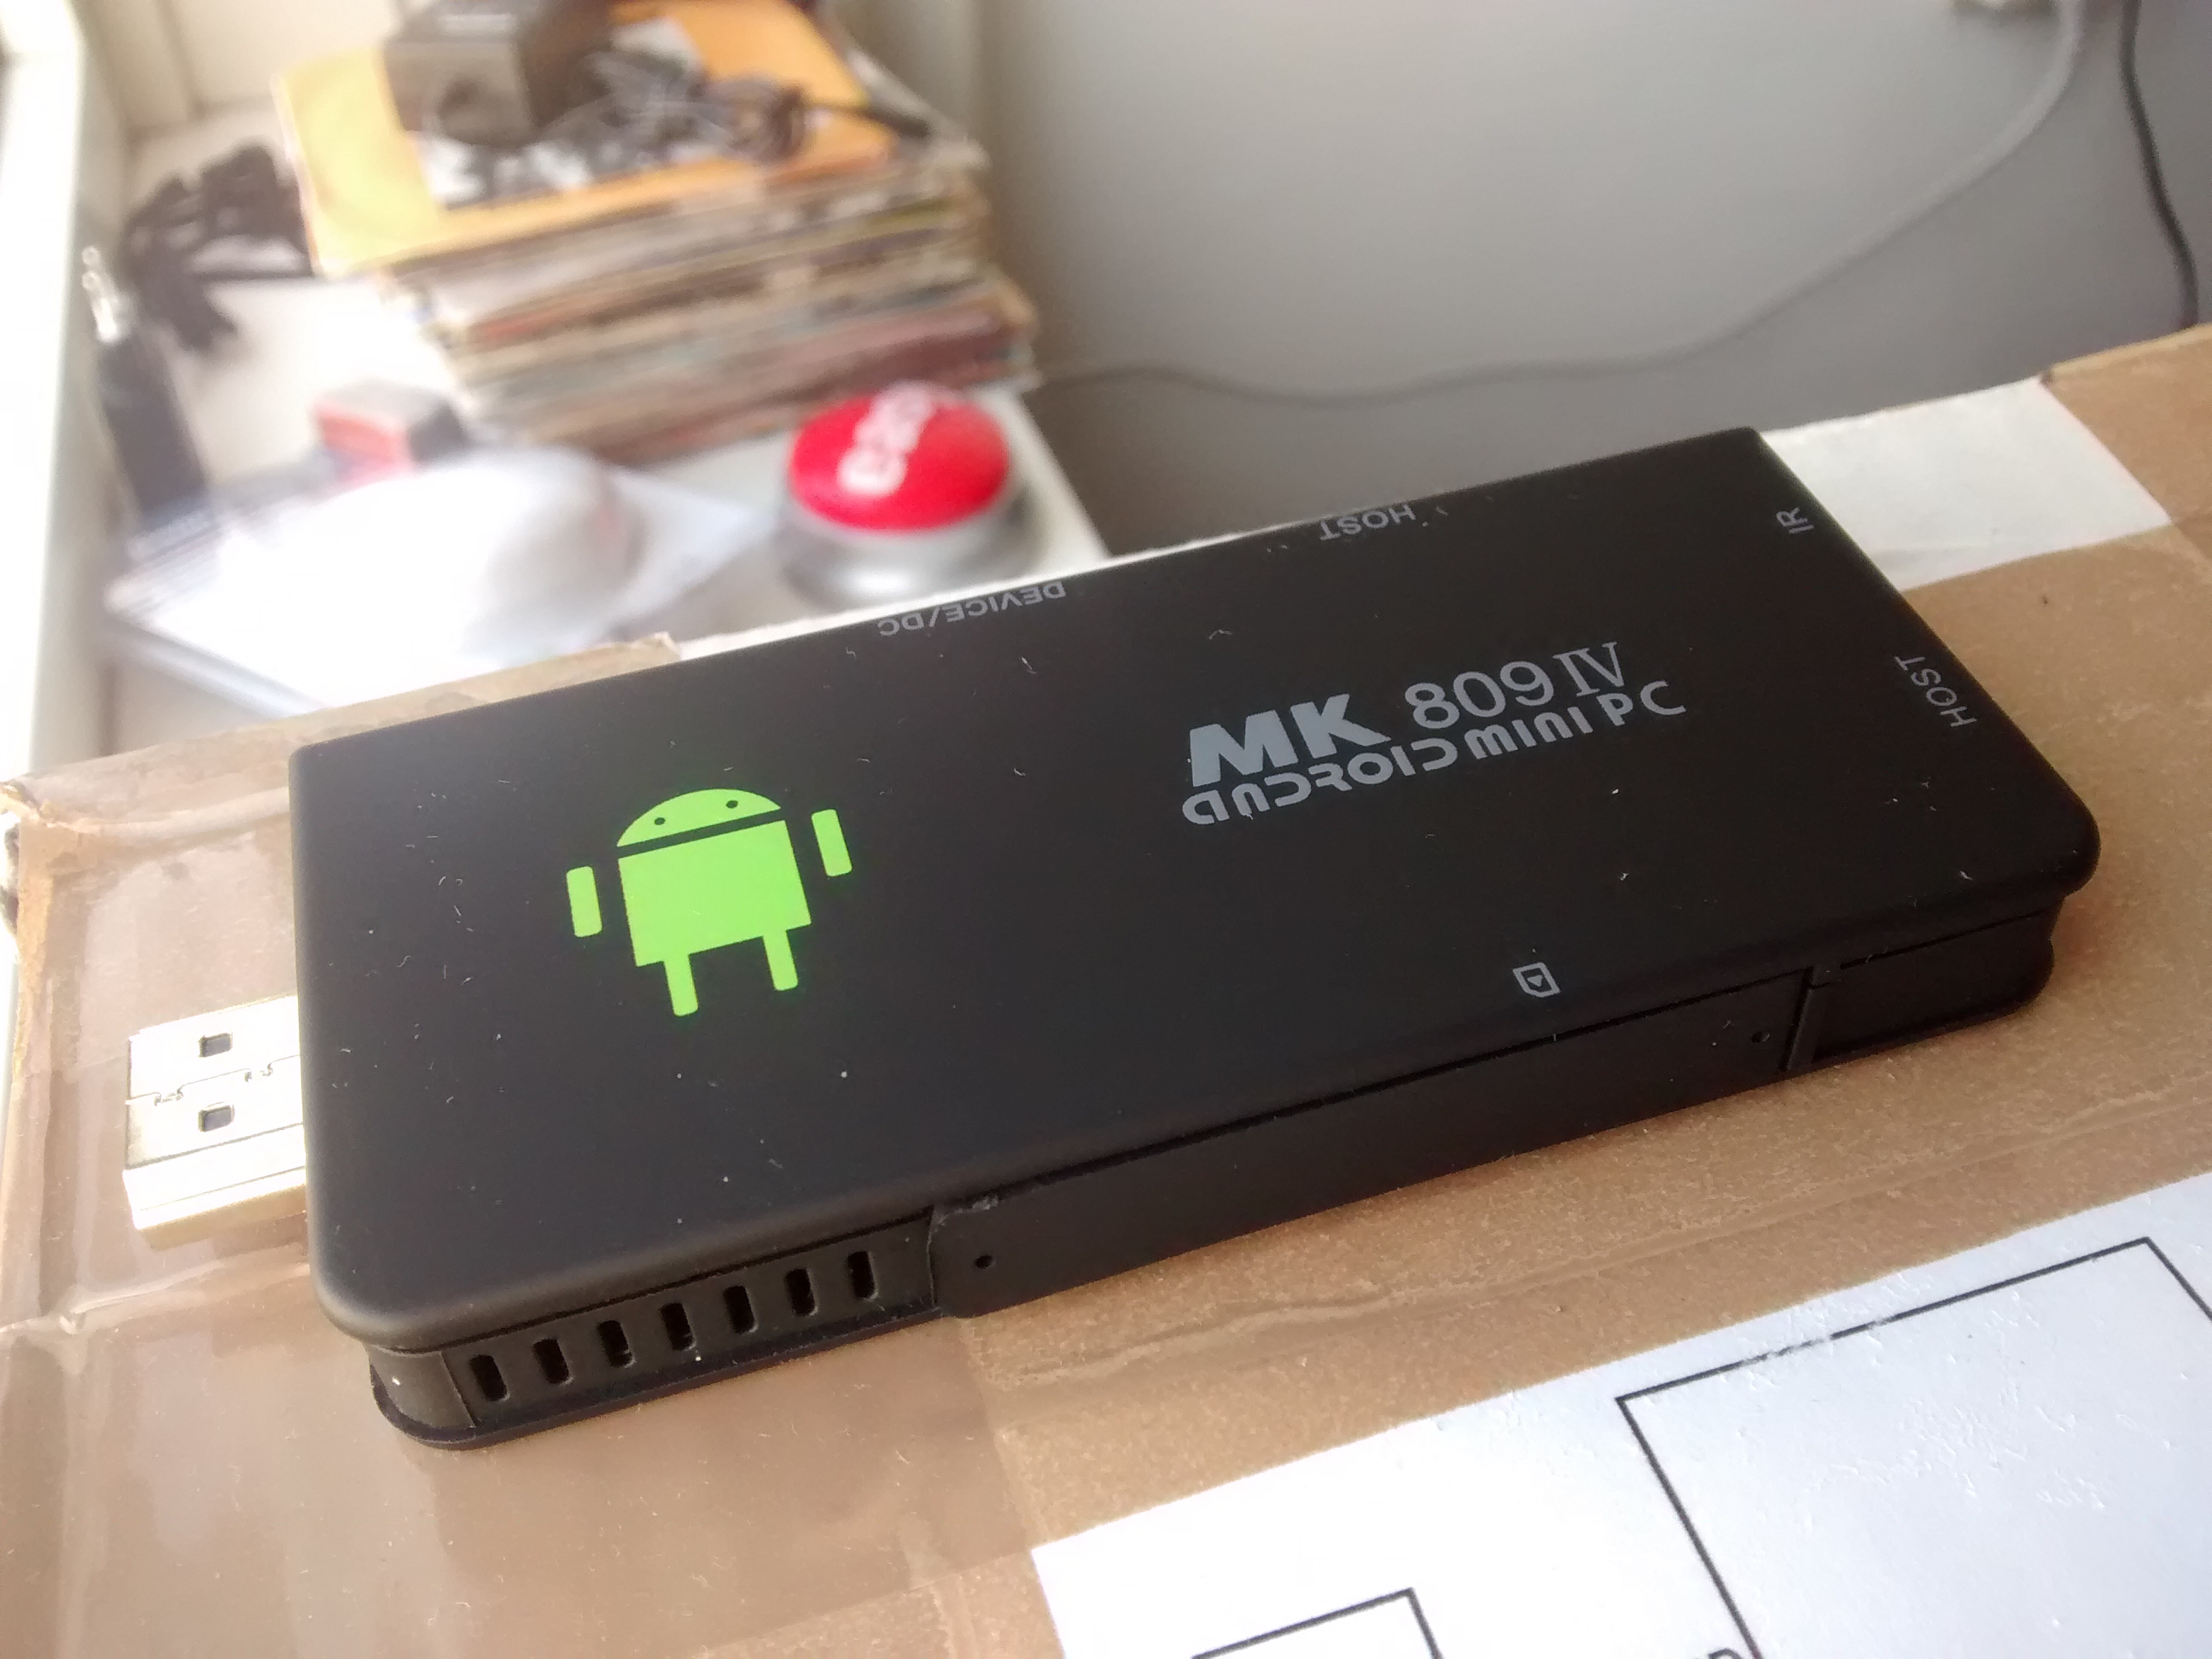
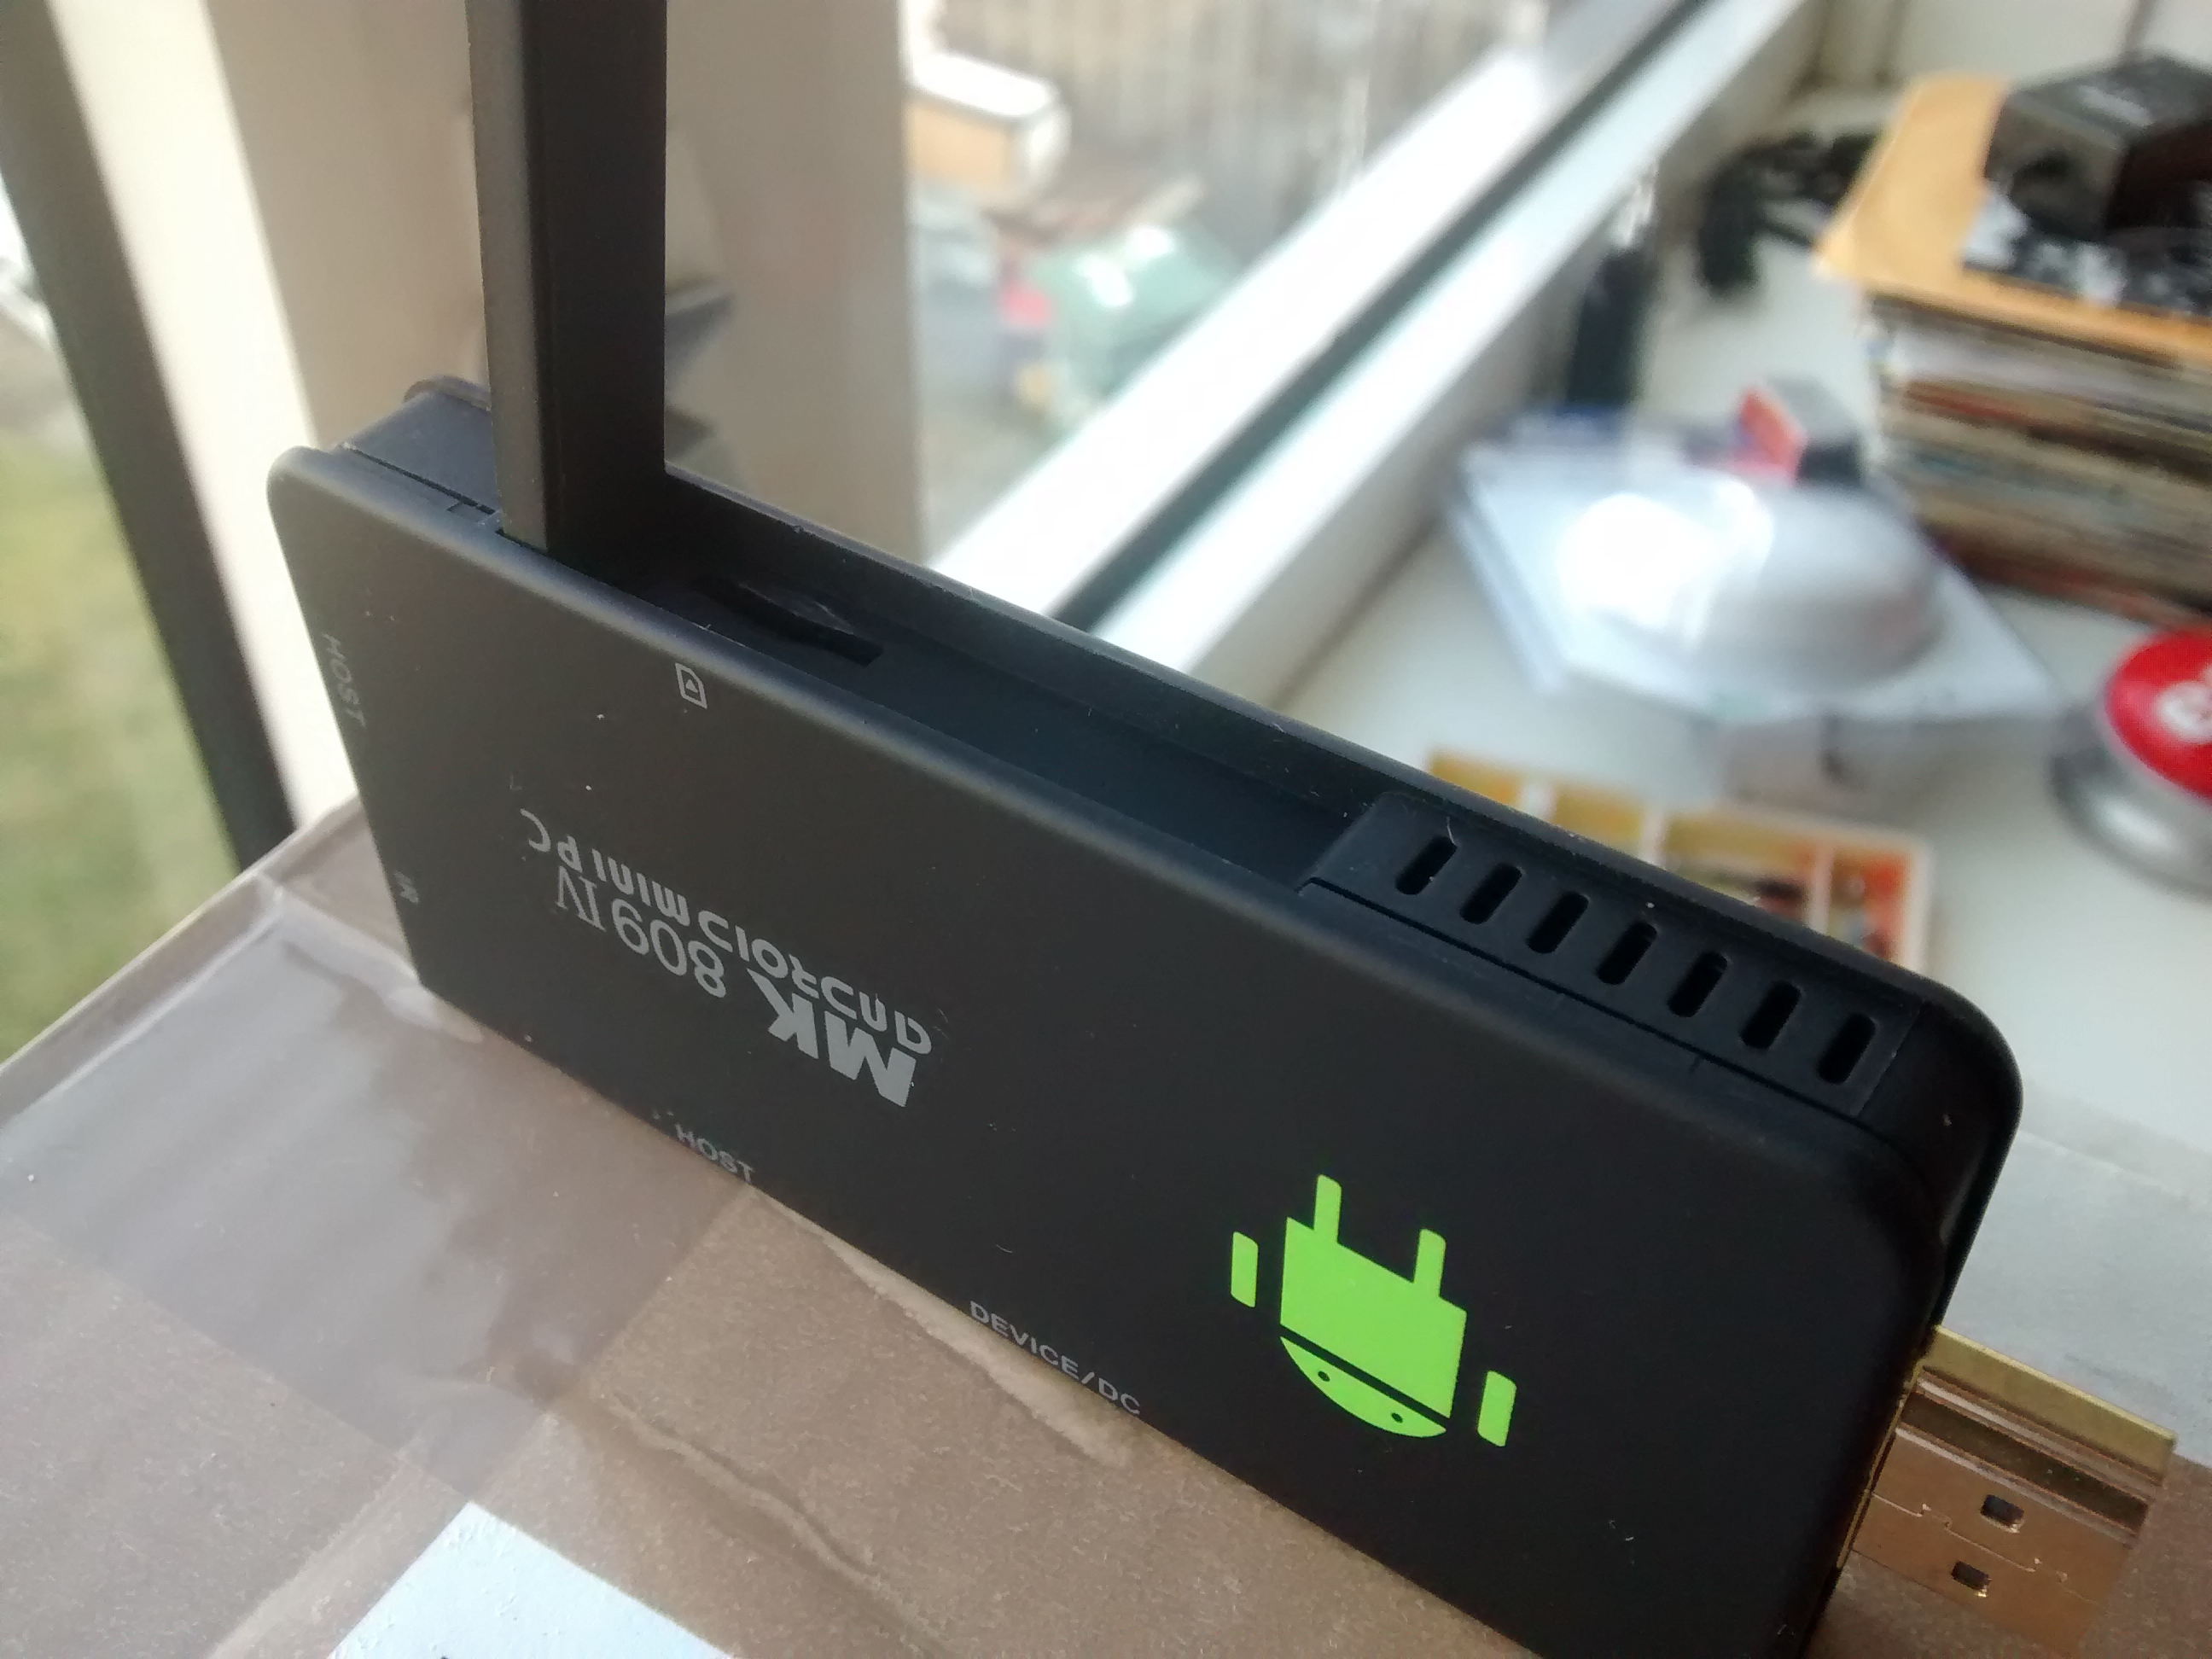
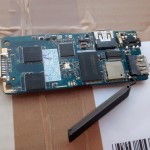
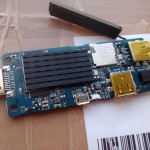
A while ago i bought an Android TV stick to use as a mediaplayer from iBood. I bought it trough their daily offer. Nice addition was the USB Fast Ethernet adapter (WiFi sucks). Specs of the stick:
- Quad Core RK3188 Cortex-A9 1.4GHZ
- 2GB DDR3 Ram
- 8GB NAND ROM
- MALI 400 MP GPU
- WIFI & Bluetooth
- MicroSD slot
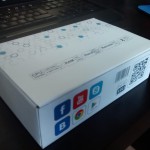
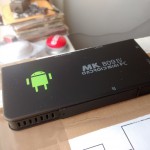
Pictures:
First run
When i first tried the stick i was disappointed. The stick came with an android 4.4 kitkat rom but it was really slow. Starting an app took forever and the interface was really sluggish. CPU-Z told me the CPU was a quad core 1.0GHZ cpu??. So i went to ugoos.net and downloaded their Android 4.2 ROM(4.4 was nowhere to be seen, why did it have 4.4 out of the box?). This was a HUGE improvement. Interface was fluent and apps started fast enough. But still i was not satisfied. Video playback in apps (xbmc 13 beta1 & beta2 and mx player pro) was shocky. Also the NAND was divided in 2GB app space and 5.x GB internal SD (why?).
Fixing problems
So i went out to look for a custom ROM, only to find out that none of the ROMs worked. I bricked my stick several times and had to use the short-pin-7&8-trick to re-flash the original firmware. I think this Android stick is some exotic variant of the original MK809IV. Every tool, rom or download that i tried wouldn’t work. In my search i learned that the shocky playback was caused by a v-sync bug in the kernel. But even flashing a patched kernel did not work. After a while i found a download RK3xxx firmware tools which is a very nice tool to extract, modify and build rokchip firmware’s. This also allows you to add or remove APK’s from the rom AND increase the app space on the NAND by using a paramater file. This could fix most of my problems but not the v-sync bug.
V-Sync bug and OC!
So using the firmware tools described earlier, i was be able to extact the firmware obtained from ugoos. The tool extracts various parts from the firmware:
- boot.img
- kernel.img
- misc.img
- recovery.img
- system.img
The tool will also let you extract and build system.img to modify android (Remove bloatware, add binaries, etc). I tried to replace the kernel.img by a patched one found online only to find out it didn’t work. After a long search i found some perl scripts. The creator of the script claimed that the script could patch any RK3188 kernel and also build OC kernels. So i let them patch my kernel and it worked! After that i build a new ROM with the new kernel (and other parameter file) and this fixed the v-sync bug. After applying the v-sync patch it is possible to create OC kernels, CPU can be OC-ed up to 1.9GHZ, GPU up to 800MHZ and memory up to 800MHZ. The script creates a kernel for each possible combination.
Increase App space
To increase App space you can extract the firmware using the firmware tools and replace a parameter file to change the layout of the NAND flash. I downloaded these parameter files somewhere but i have no idea where. Therefore i will add them to this post but kudo’s to the guy who created them. After extracting the firmware you can find the parameter file in temp/Android. Simply replace the parameter file by any of the attached parameter files and rebuild+flash the image. Parameter2GB would create 2GB of App space, Parameter6GB would leave you with 6GB of App space (and about 700MB of internal SD space). You can find the parameter files here.
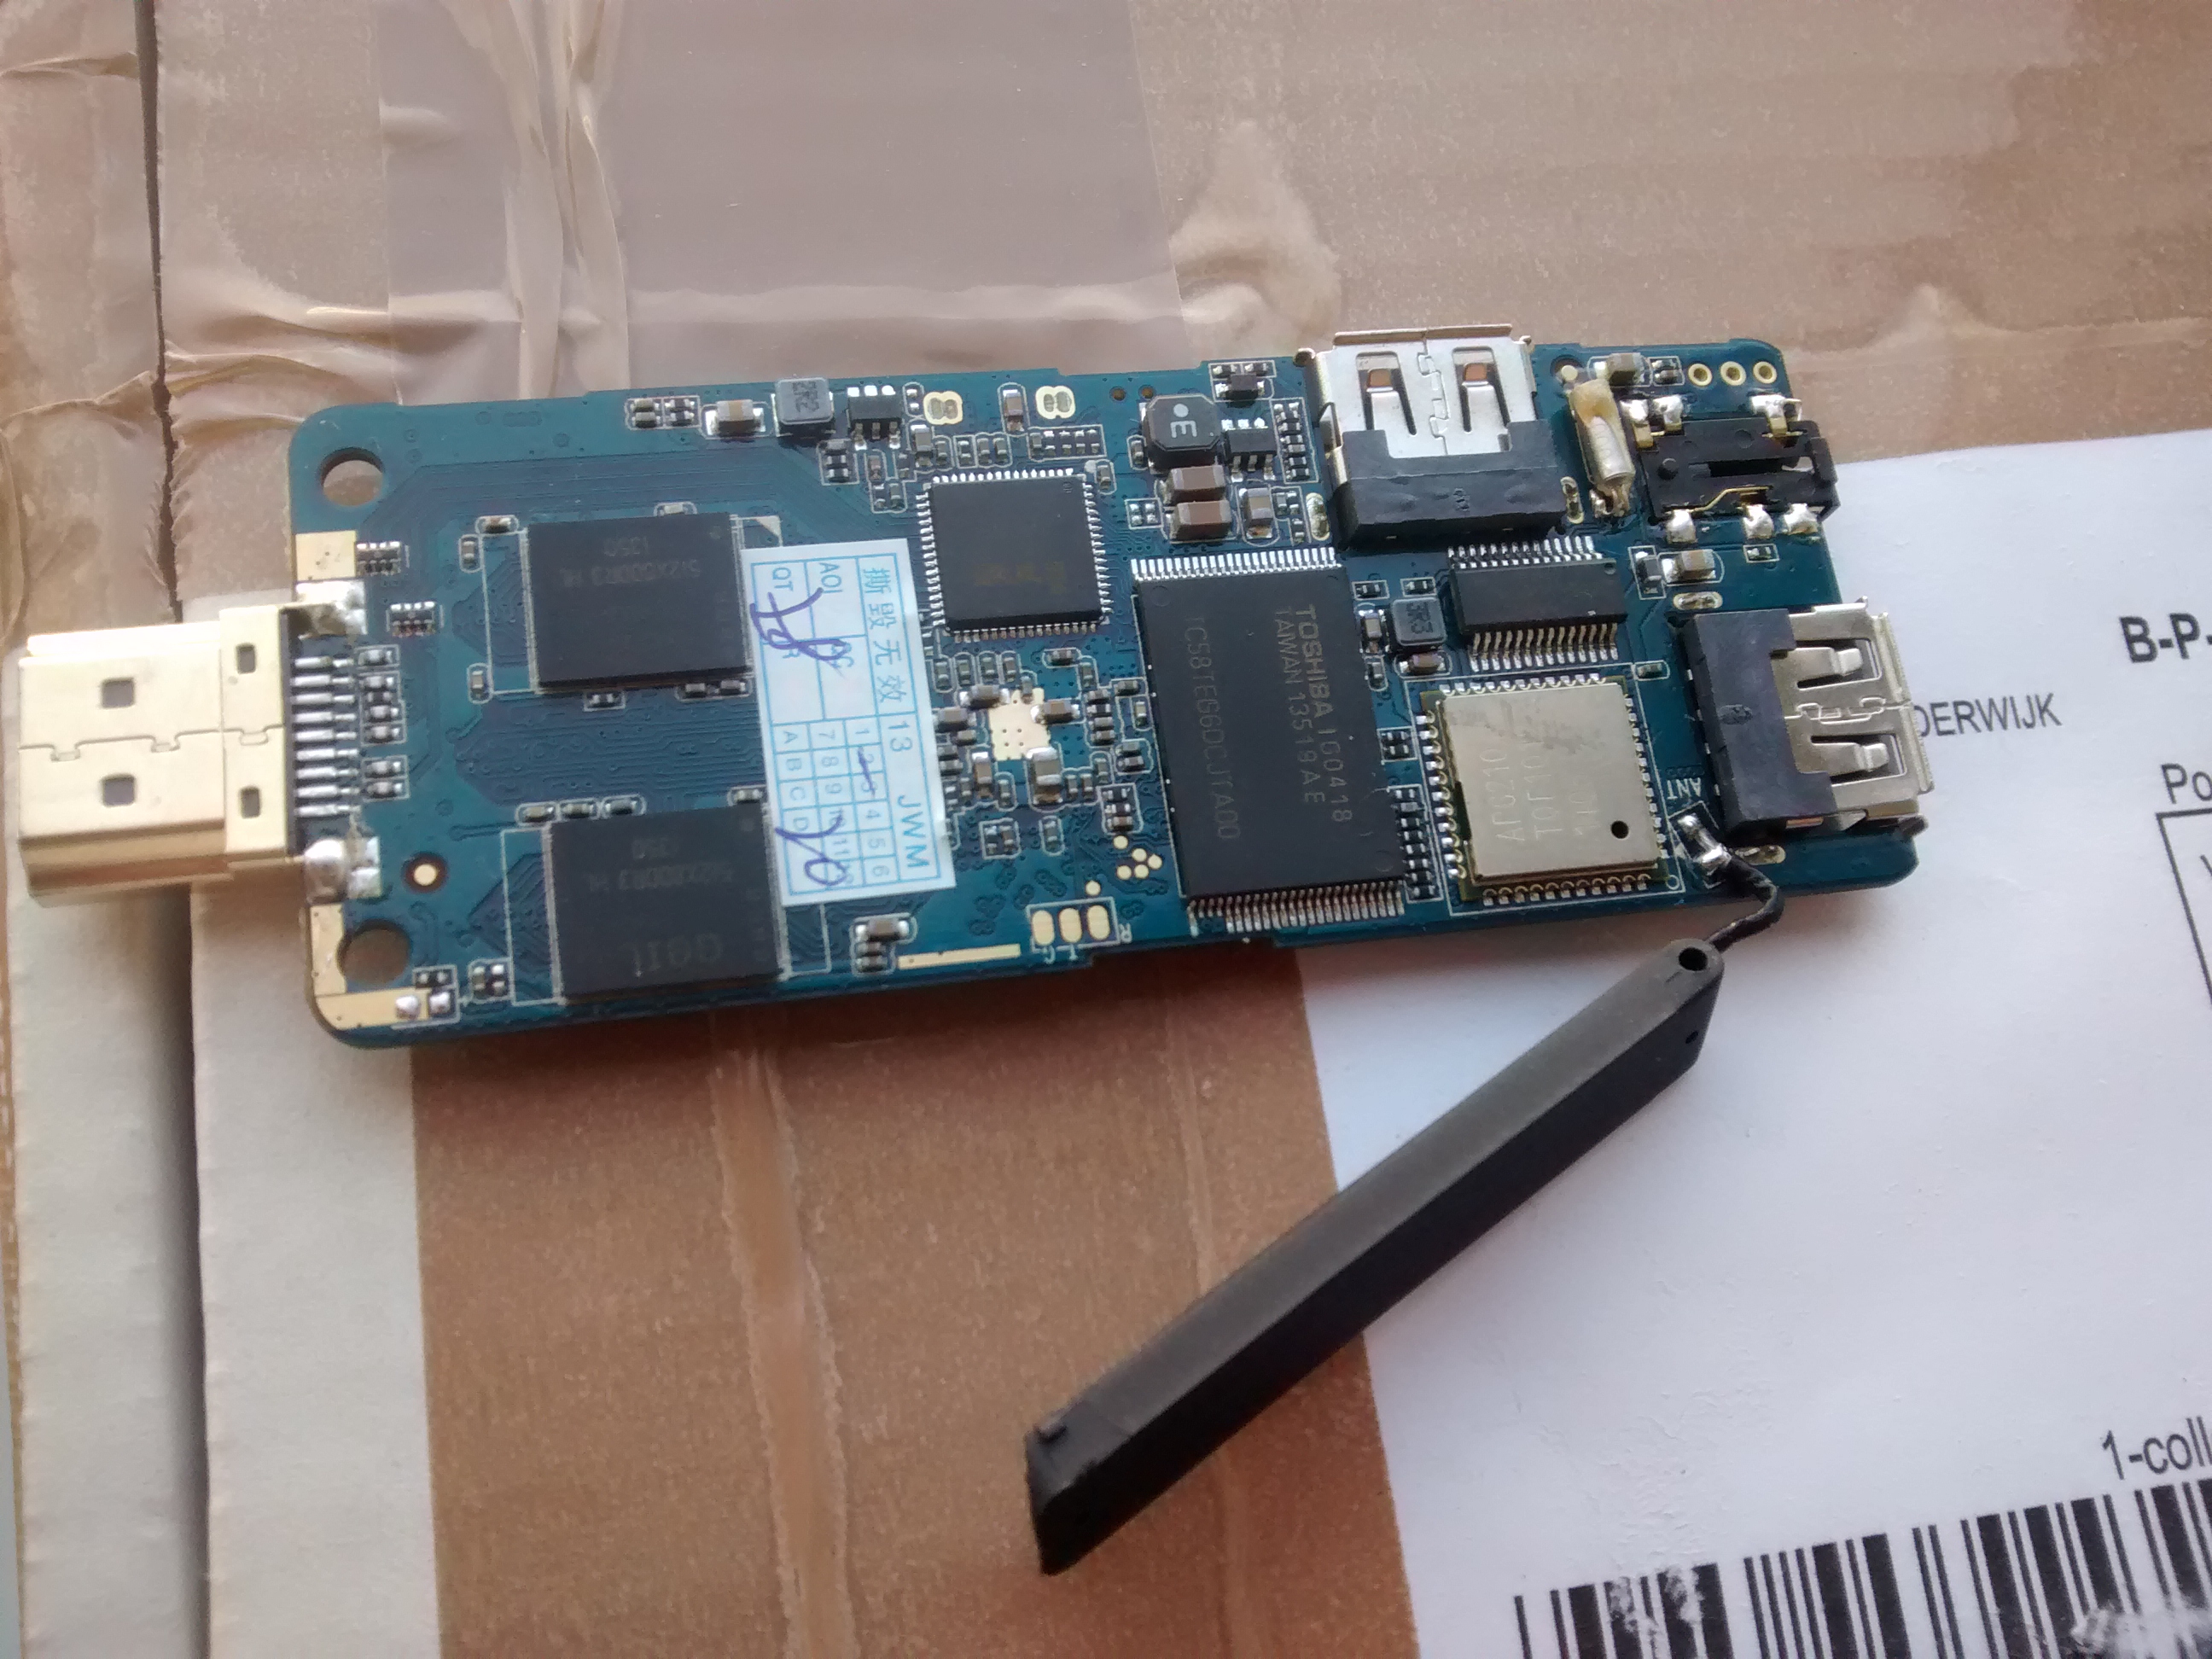
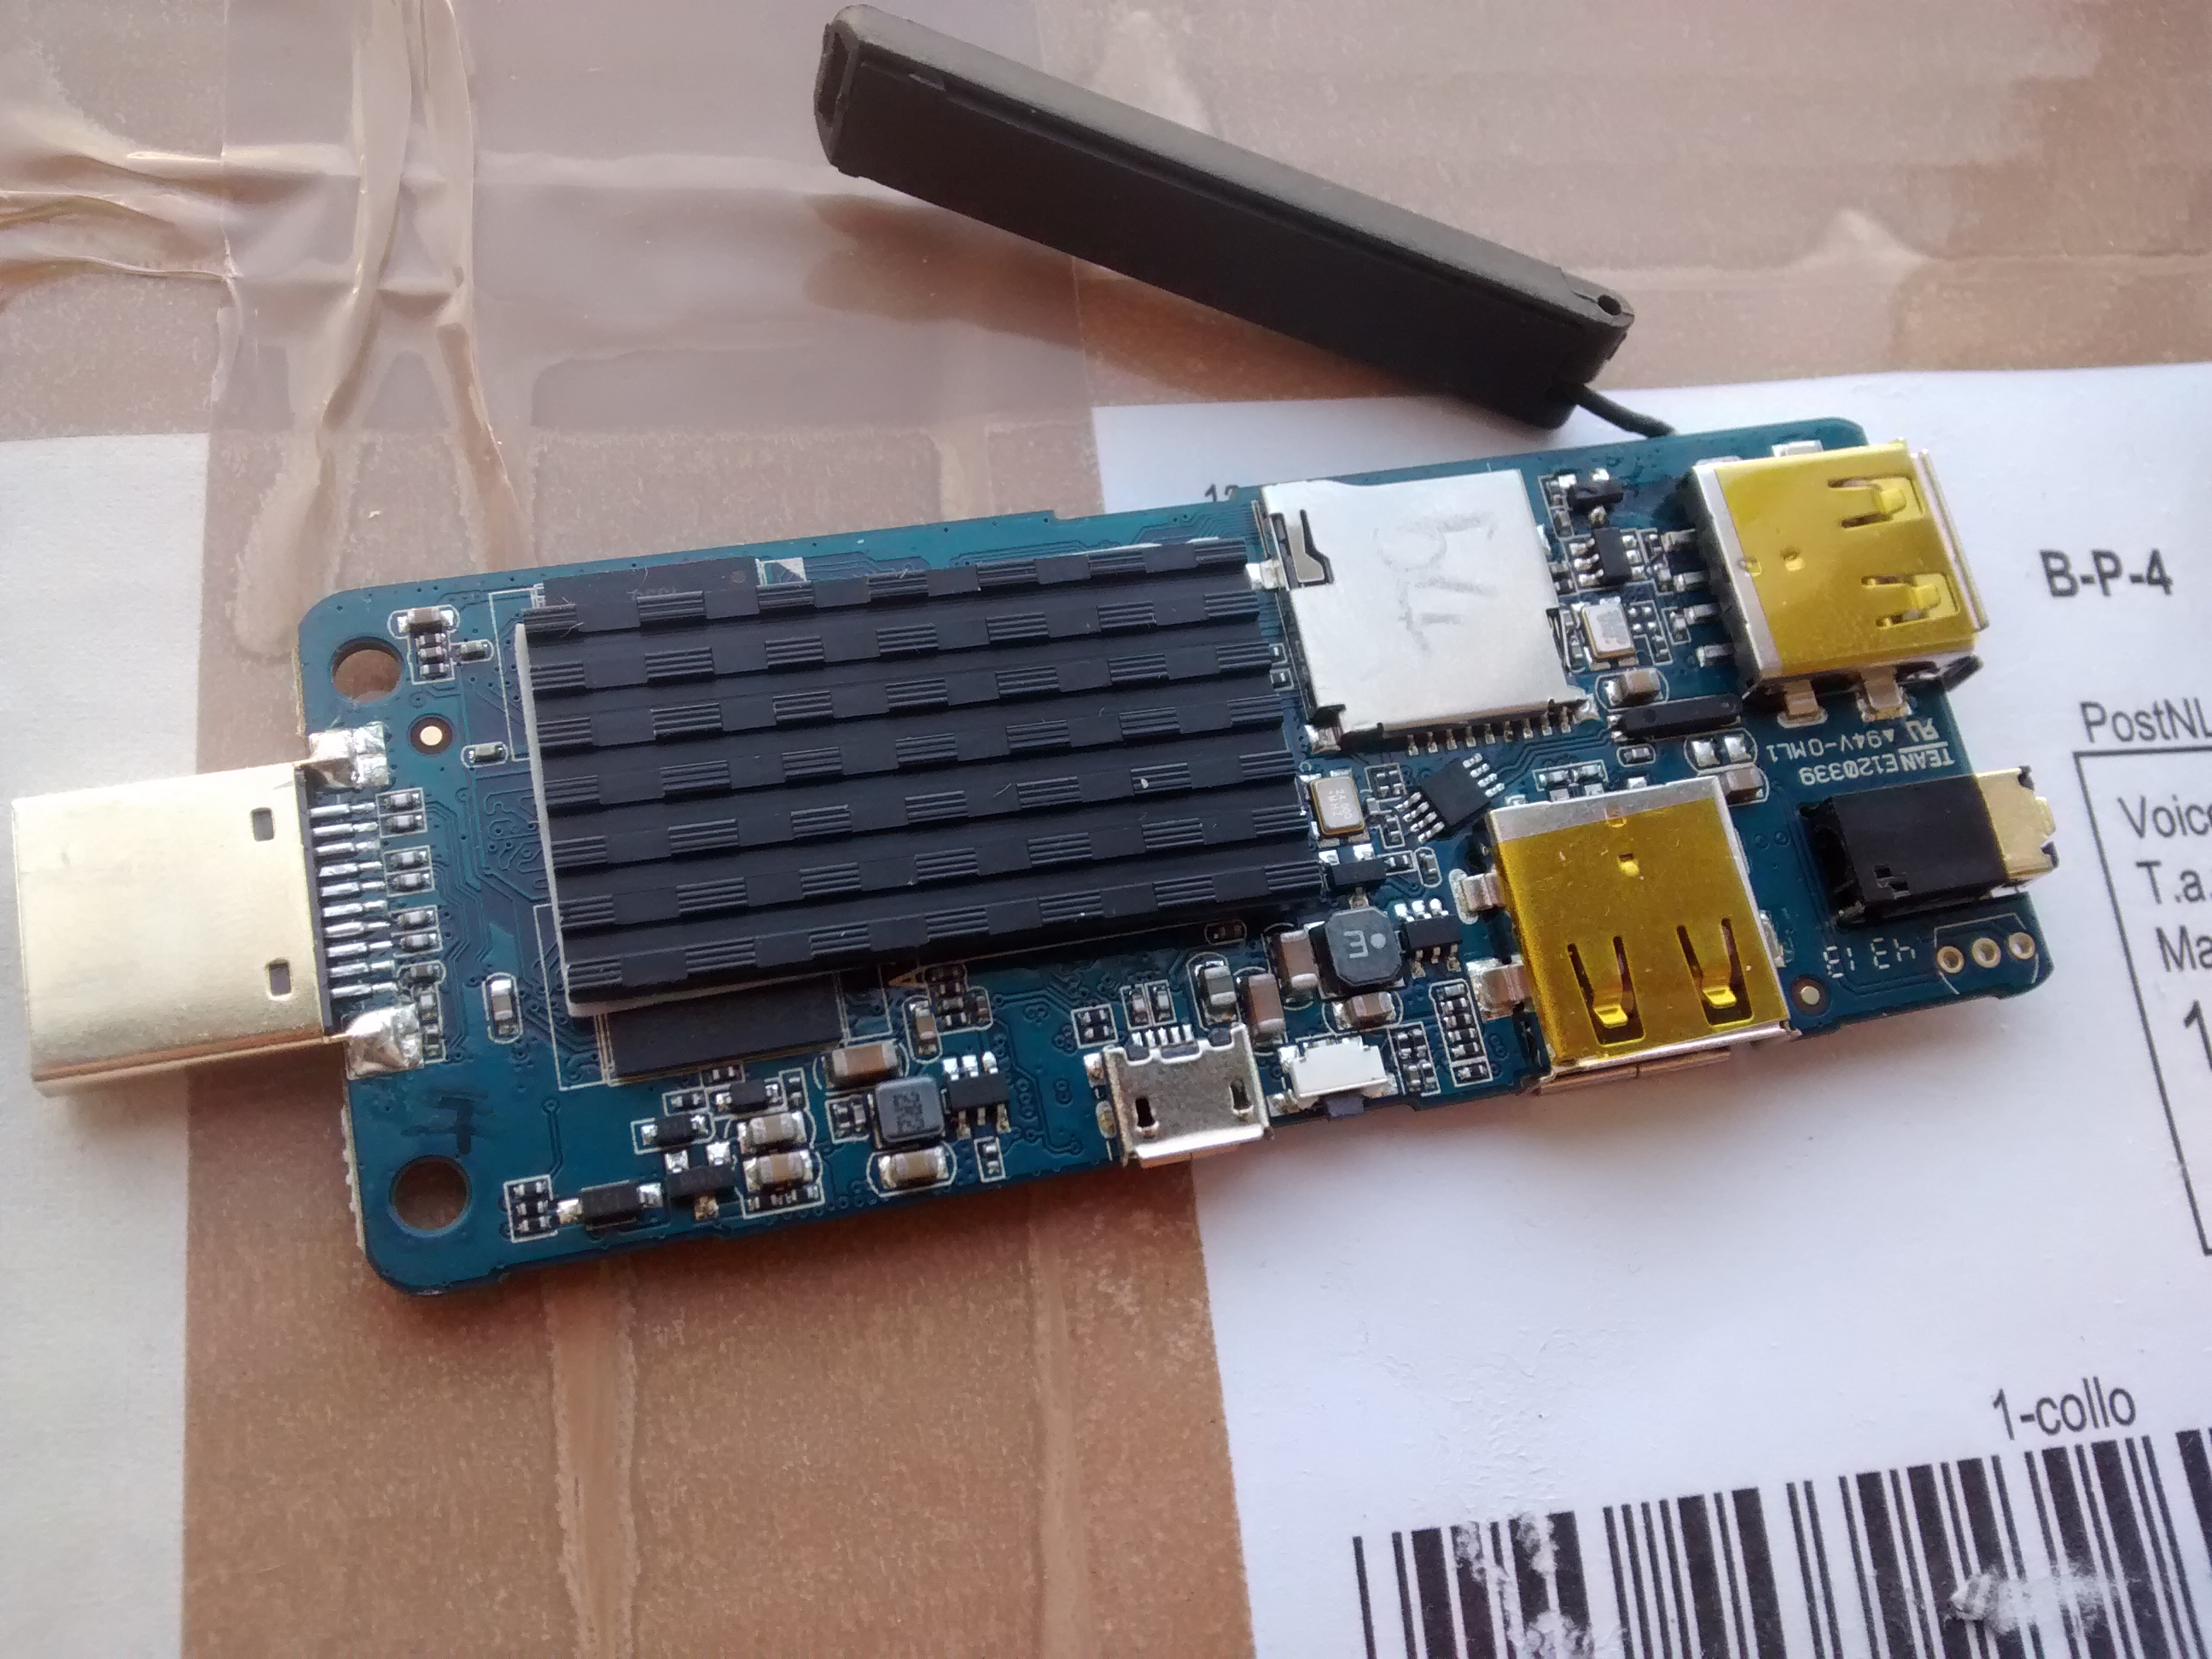
Unbrick your Stick
As i mentioned earlier, i bricked my stick a few times. If you did a bad flash and your stick won’t boot and windows shows unrecognized device when you connect it, you can recover by shorting pin 7 & 8 of the flash chip while powering it on. This enable’s some hardware flash mode which allows you to flash the original rom to the device. I used the tip of a small knife to short the pins, see the picture below:

Root & Bluetooth
2 things about the stick are still a ‘problem’. The first problem is that i couldn’t get root on the device, i modified the ROM by superuser.apk and the su binary, but superuser keeps telling me that the su binary is missing. The other thing is poor bluetooth performance. I connected a BT keyboard and especially when WiFi was doing a lot of traffic it was impossible to use the keyboard or mouse. I ended up buying a mini RF Keyboard/Touchpad which uses it’s own dongle.
Update 1
I’ve managed to get root on the device. I tried this for a while on a Windows 8.1 machine but i couldn’t get the ADB driver to work. On Windows 7 i got the drivers to work using the AdbDriverInstaller.exe file. After that i used TPSparkyRoot.bat (google it) to root the device.
I have uploaded and added the patched ROM for download as requested. The ROM has stock clocks, v-sync patch applied and some bloatware removed. App space is 6GB and 700MB internal SD card storage. I’ve also uploaded a zip file (see below) with all the possible patched OC and stock kernels (generated by the Perl scripts) so you can flash only the kernel using the RK3xxx firmware tools . If you are interested where the Android 4.4 (Beta) ROM came from: i found it here. I’ve read in a thread on iBood that the developers of the ROM expect to release an Android 4.4 final ROM somewhere next week.
Resources
If you want to link to the download, please link to this page and not the direct file. Thanks!
Other Resources